Print then Cut on Cricut – The Cricut Maker is an amazing machine that allows you to create digital designs from your own photos and artwork.
The Cricut is an easy-to-use cutting machine that is available in multiple shapes and sizes. This guide will teach you how to use the Cricut for all your DIY projects.
It’s a versatile machine that is perfect for crafting, creating, and decorating. You can easily design cards, scrapbooks, home décor, and craft projects.
Printing on vinyl is a great way to create durable, weatherproof signage or labels. Vinyl printing can be done with a standard inkjet printer, making it a cost-effective option for small businesses and organizations.
You’ll also learn how to get started with the Cricut and how to make some of your favorite crafts like greeting cards, Christmas ornaments, and Halloween decorations.
What is Print Then Cut?
The Print Then Cut function on my Cricut machine is one of my favorite features. Cutting around patterns that you’ve already printed on your home printer is simple with the Print Then Cut technique.
You print your graphics using this capability on your personal inkjet printer before cutting them out with your Cricut Maker or Cricut Explore.
Only the Cricut Explore and Cricut Maker models can currently perform print and then cut. The Print Then Cut function on the Cricut Joy cannot be used to create stickers, but it can write directly on unique Cricut Smart Labels.
Things you need to Print then Cut on Cricut
Cutting mat
A measuring tool for sewing and craft tasks is a cutting mat.
Cutting mats are made of plastic, rubber, or metal and are used to protect the surface of the material on which the cuts are being made.
Cutting mats can be used with many tools, including rotary cutters, hand-held cutting tools, and power cutters.
Cutting mats are available in many different shapes, sizes, and designs, depending upon the material on which the cuts are being made and the tools being used.
Ruler
A straight strip or cylinder made of plastic, wood, metal, or another hard material is used to measure distances or draw straight lines and is usually marked at regular intervals.
Design Software
Design software is used to create and modify objects such as images, icons, buttons, charts, graphs, diagrams, etc.
Typically, a designer will use a mouse and keyboard to move a cursor on a screen and enter input which controls the design software to produce an output.
The output is usually displayed on a monitor or other display device. Design software may also be used to view and manipulate models in three-dimensional (“three-dimensional”) space.
Cricut Explore
The Cricut Explore is a portable and convenient method to experience digital cutting, writing, and drawing at home.
It is the ideal companion to everyday crafting. This machine is quick and simple to use, allowing you to customize DIY designs for a variety of purposes, including card-making, home decor, gift-giving, bespoke clothing, and much more.
Knife
A craft knife with a sharp, replaceable blade that is used for paper crafts, etc. Cut the picture’s edges off with a craft knife and a steel ruler.
Scissors
Fabric, paper, and many other materials can be cut with a pair of craft scissors. Most craft scissors may need to be sharpened on occasion; this can be done either professionally or at home using a whetstone.
Printer
A printer is a device that receives the text and graphic output from a computer and prints the data on paper, typically on sheets of paper that are standard size, 8.5″ by 11″. The size, speed, sophistication, and price of printers vary.
Tape
The Extra Strong Crafter’s Tape is ideal for usage in the home, workplace, and classroom. This simple tape may be used at home or on the move and will instantly connect with your paper and images.
Use it on a variety of surfaces, including pictures, ribbon, and paper. Details: 8.75 yards are in a roll.
Sticker Paper
8.5″ x 11″ adhesive paper that can be printed on with most inkjet or laser printers is commonly referred to as sticker paper.
Using a digital cutter like the Cricut Explore or Brother ScanNCut, sticker paper provides you the ability to make personalized sticker sheets.
Procedure to Print then Cut on Cricut using Vinyl
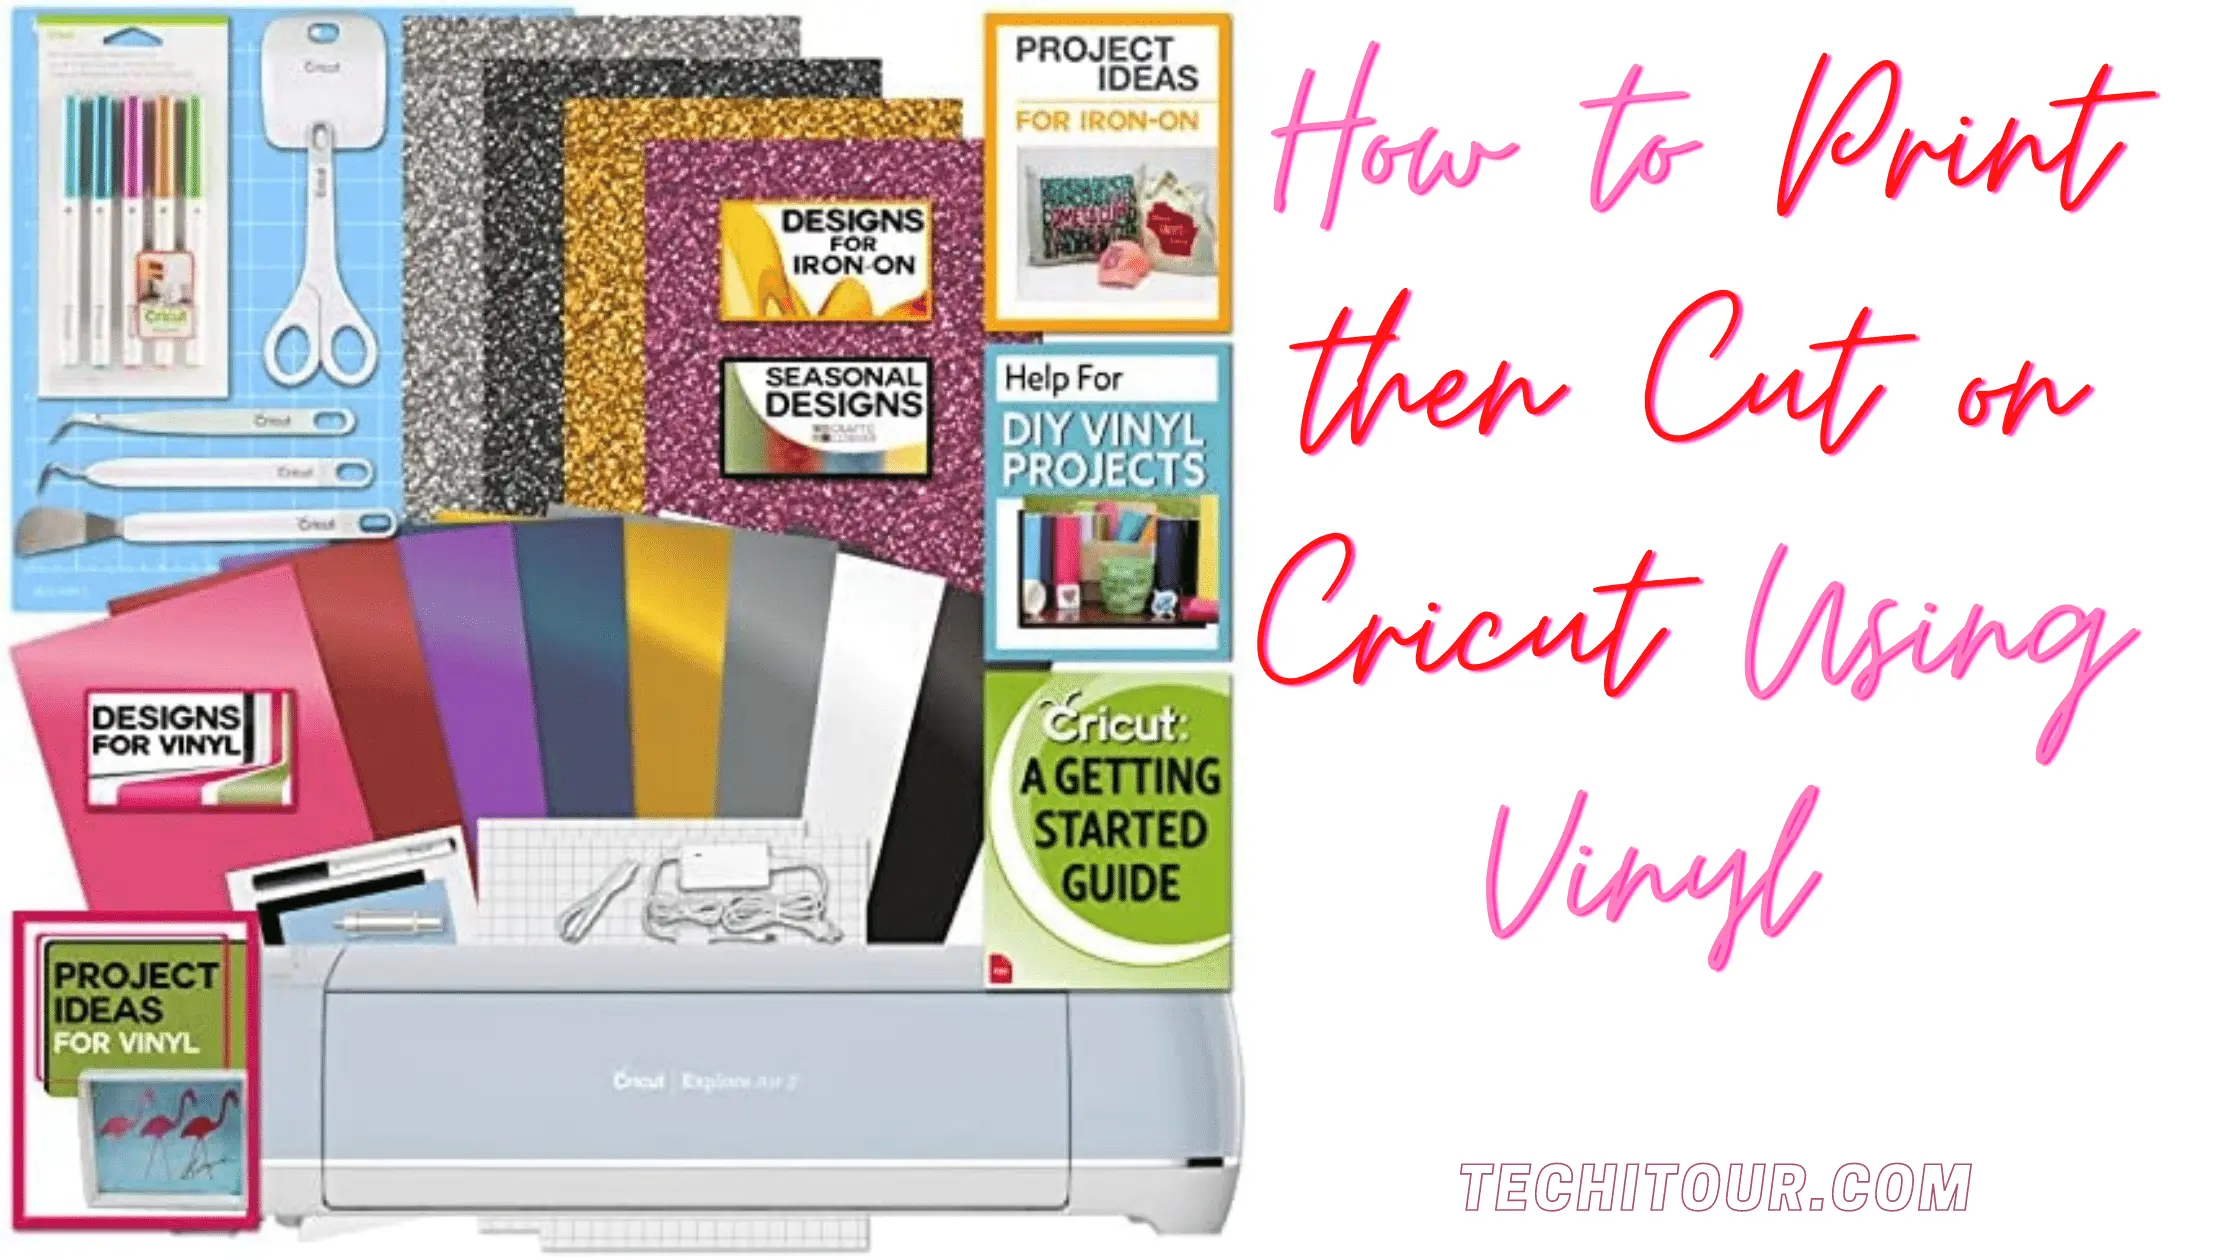
Cricut Explore Air 2 Machine Bundle Iron On Vinyl Pack Tools Pen Design Guide
Pick the Appropriate Vinyl According to Your Need
There are numerous varieties of vinyl available, each with unique qualities. Think about the environmentally friendly and intended use when selecting vinyl for printing.
For instance, cast vinyl is better suited for long-term exterior applications whereas calendared vinyl is appropriate for interior or short-term outdoor use.
There are several varieties that are readily available, each with unique chemical composition and set of characteristics.
For stickers and decals, you should probably choose gloss or semi-gloss vinyl. Use matte vinyl when making labels for a more understated appearance.
Gloss Vinyl
Gloss vinyl is usually used for printing on items such as walls, metal, glass, furniture, and other flat surfaces. It’s also the most popular choice for exterior applications. Gloss vinyl has a glossy appearance and is ideal for creating high-quality prints and images.
Semi-Gloss Vinyl
Semi-gloss vinyl is a compromise between gloss and matte. It has an attractive gloss but will not print as well on non-flat surfaces. The tradeoff is that it is less prone to scratching. It can be used for both interior and exterior applications.
Note
It’s important to understand that not all vinyl will work for every project. It may be too thick, too flimsy, or simply won’t stick properly to the substrate.
When working with vinyl, it’s best to use the right product for the job.
Select the Vinyl’s ink Colour
It’s crucial to match the ink to the type of vinyl in order to achieve the greatest results. In general, cast vinyl should be printed with latex inks and calendared vinyl using solvent inks.
For each kind of vinyl, there are, however, particular inks that are available. Before printing, make sure to review the manufacturer’s instructions.
In addition to the types of vinyl, the ink you choose is also important. If you’re going to use a gloss-type vinyl, make sure you select a matte finish.
You can print using any color of ink. However, it is recommended to avoid bright colors, since they tend to fade quickly.
Ink Spread mainly depends on the type of vinyl, you’ll need to determine how much ink will be applied to your piece. A matte vinyl requires more ink than a calendared vinyl, and a glossy vinyl requires less.
Make the Printabl Design Using Software
The next step is to either design or import your print after choosing your vinyl type and ink. Any graphic design program, such as Adobe Photoshop or Illustrator, can be used for this. Make sure to accurately align the print’s measurements with the vinyl sheet’s dimensions.
It’s crucial to consider the characteristics of vinyl printing when creating your print. Vinyl prints are less forgiving than conventional inkjet or laser prints; once they are created, errors may be challenging or impossible to fix.
Be sure to test your design on a scrap of vinyl before printing it onto your final sheet to prevent errors.
This can be done by printing a small portion of your design and then cutting out the image before using it as your vinyl decal.
When using vinyl, it’s important to make sure that you have access to the entire piece of vinyl before printing. Vinyl decals are not like stickers which can be cut and pasted around objects.
The adhesive on a vinyl decal is very strong and will adhere to most surfaces. If there are sections of the vinyl decal that are not exposed, there is a chance that the adhesive will not adhere to the surface.
Check for the Printer Setting
There are certain broad modifications that may be done to increase print quality on vinyl, while specific adjustments will depend on the type of printer and brand of ink used.
The printed vinyl sheet has a grid on one side and a matte white surface on the other. Print on the matte, blank side of Cricut Printable Vinyl when using it.
It’s also possible to reverse the order by placing the matte white side down on your work surface and printing on the grid side of the vinyl.
If you’re working with a color printer, you can check the settings in the printer itself. For example, if you’re using a Canon Pixma Pro 9500 printer, look for the “Color Mode” setting.
You want this to be set to “CMYK” mode rather than the default “RGB” mode. This will ensure that the colors of the image are accurate and there is no loss in quality.
Print then Cut Vinyl on Cricut
For your Cricut machine to print and cut vinyl, you need to be aware of a few things. You need the appropriate materials to get started. Select Cricut printable vinyl from the list of materials while using Cricut Maker or Explore Air.
You will also require transfer tape, a cutting blade, and vinyl. Make sure to choose the appropriate vinyl for your project when making your selection.
For instance, you will need permanent vinyl if you are creating a sign. Removable vinyl is required if you are creating a decal.
Make sure the design is compatible with the constraints of your project’s resources. When the cutting cycle is complete, carefully remove the cut pieces off the mat and set them face down on the project material.
Peel off the backing and place it on top of the piece. Use a heat gun to seal the vinyl to the project material.
Once the vinyl is in place, trim off any excess vinyl that extends beyond the edges of the project.
You can use a utility knife or small pair of scissors to do this. Remove any residue from the vinyl by rubbing it with a damp cloth.
This will remove any glue or adhesive that may be left on the vinyl. Apply more vinyl if you want to make the sign longer.
Steps for a beginner to Print then Cut on Cricut
- First, upload a picture to Cricut Design Space (or use one from Cricut Access)
- Remove the background from the cleanup page in step two.
- Save the image for printing and cutting.
- Add your image to a brand-new canvas
- The fifth step is to switch the operation to Print then Cut.
- Add Offset which is an optional step
- Click the Make It.
- Press Print and select System Dialog or Print Dialog.
- Set up a Cricut cutting mat and load materials onto the machine.
- Decide on a material setting in step ten.
- Click Go – C button on the machine is available for this purpose
- Check the cut before unloading the mat.
- Remove the Cutting Mat
- Dispose of the Project
Check out all the detail of How do I Print Then Cut from Cricut Design Space?
FAQ
What to do if the Print Then Cut Option is Not Working?
There are two main reasons why the Print then Cut option may not be working in your printer. Sometimes the printer does not connect to your computer because some driver related to printing may have gone missing.
In this case, you need to reinstall the driver and if necessary download the updated driver from the manufacturer’s website.
You may also be using the wrong type of paper. The other reason may be that you do not have enough ink in your printer. Refill or replace the ink and try printing again.
How we can download Free Sticker Image Templates For Cricut?
You can produce stickers with your Cricut by downloading my rainbow and creativity takes bravery image designs for free.
Fill out the form below to sign up or sign in with your existing account to access the free sticker image files. Once inside, type “stickers” or design #485 into the top search bar.
What Format Do I Need For Print Then Cut?
JPEG or PNG images can be used with Print Then Cut.
To use an image in Print Then Cut, you need to create a separate file for each image. In your case, you would need to save the image as a JPEG or PNG and then name that image in the Print Then Cut dialog box.
You must do this for each image you want to print. Once you have saved the file, you can choose to print the image using the normal methods in Print Then Cut (the normal print options will not work).
The image is cut into the shape of the card using the Cut Into Shape option.
A JPEG or PNG image is a single-layer image with all the colours flattened together; there are no layers; it is a color-blended, pixelated image, similar to a clipart image or a photo.
Final Words
As with all things, the more you practice the easier it becomes! If you have any questions about making vinyl signs for your projects, feel free to contact me.
The great thing about vinyl is that it’s so versatile. It’s a perfect material for crafting and can also be used as a decorative element in your home.
The only downside is that you have to remember to keep it clean. After using it, don’t forget to wash your project with soap and water. Use a clean cloth or sponge to wipe it off.

Rhea James is a dedicated researcher. I’m fascinated by office items and enjoy learning more about them so that you can simplify your workday.
On this website, I share all of my personal experiences and ideas, as well as the best products, information, and shopping advice.
If you enjoy my product reviews and writing, please share them.
Keep Visiting, and keep Shining.